Change Card Size with Magic Resize
What Magic Resize does
Magic Resize is what happens when you change a deck from one card size to another. Instead of leaving your text and art where they were, Chitmunk offers to scale the whole design to fit the new size. A poker card becomes a tarot card, a mini card becomes a bridge card, and your layout comes along for the ride.
Use it when you started on the wrong size, when a print shop does not make the size you picked, or when you want to reuse a finished design on a different piece.
Change the card size
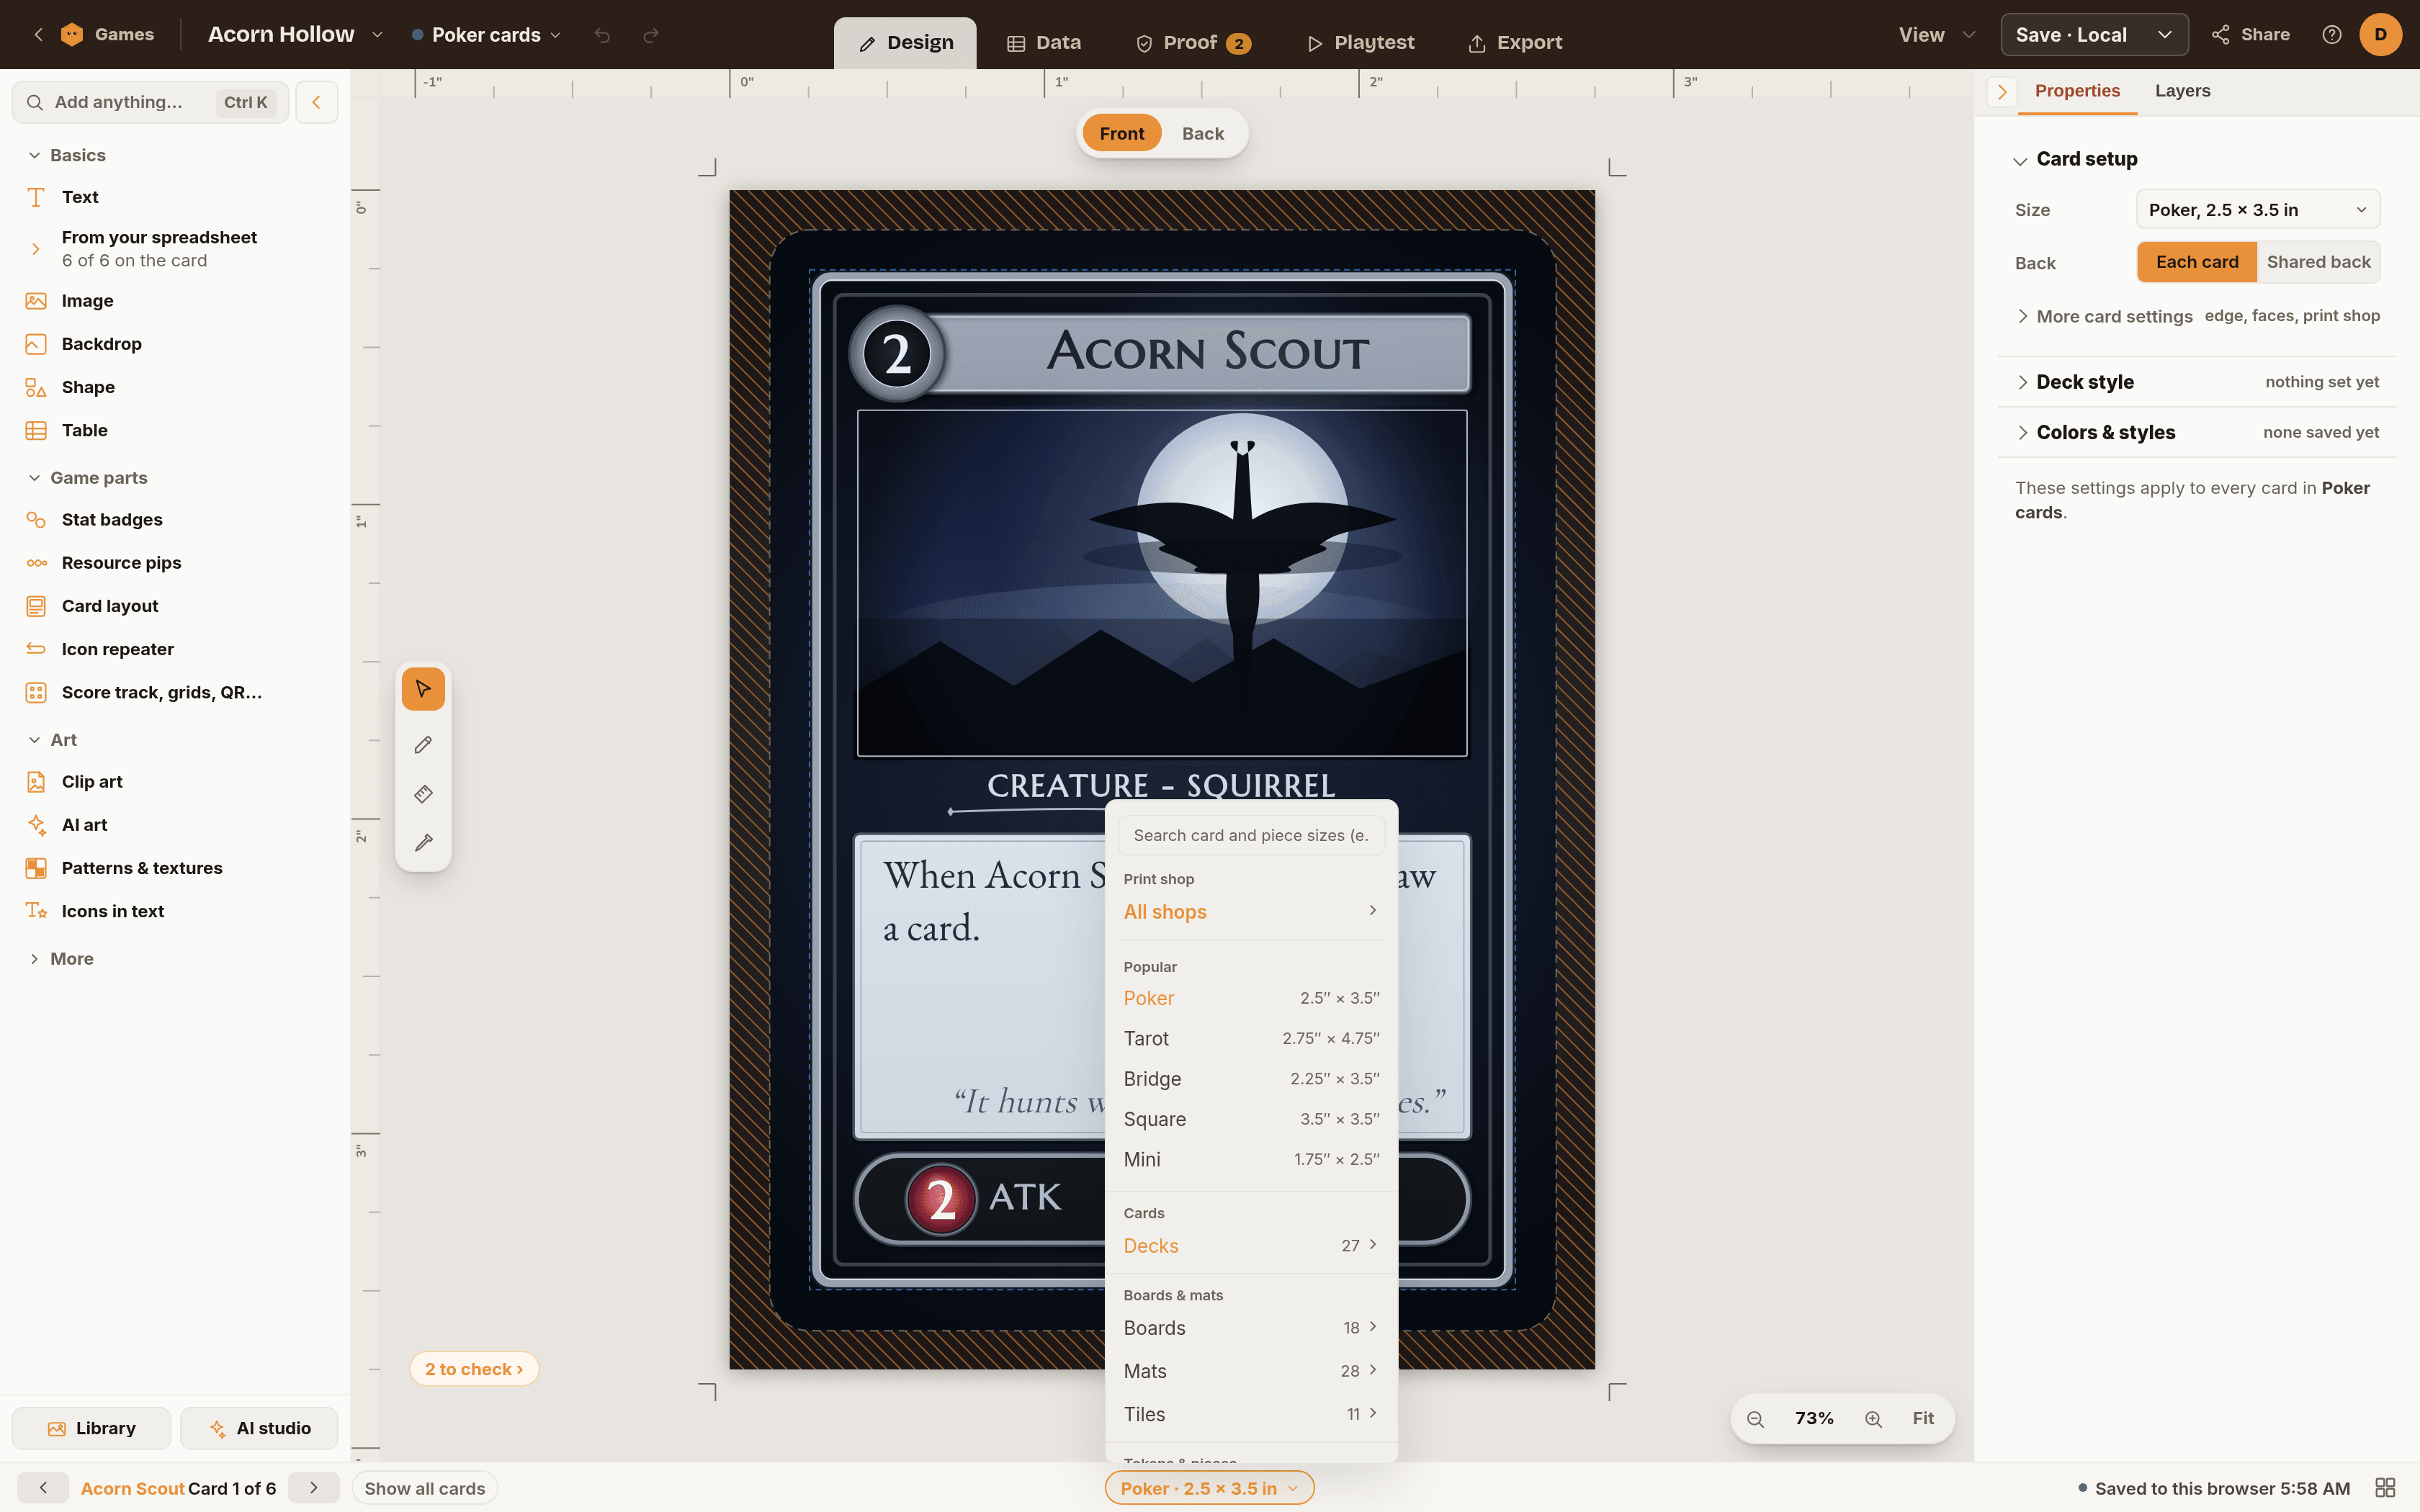
- Click the game name in the top bar to open the game menu, then choose Card size. The current size is shown next to it. You can also click an empty spot on the card and use Card setup then Size in the inspector, or press Ctrl + K and search for Card size (Magic Resize).
- Pick a size. The box at the top searches by name or measurement, for example tarot, hex or 3 × 5. The list below is grouped into Cards, Boards & mats, Tokens & pieces, Books & pads, Boxes and Other. Need something else? Choose Custom size and type a width and height between 0.25 and 54 inches.
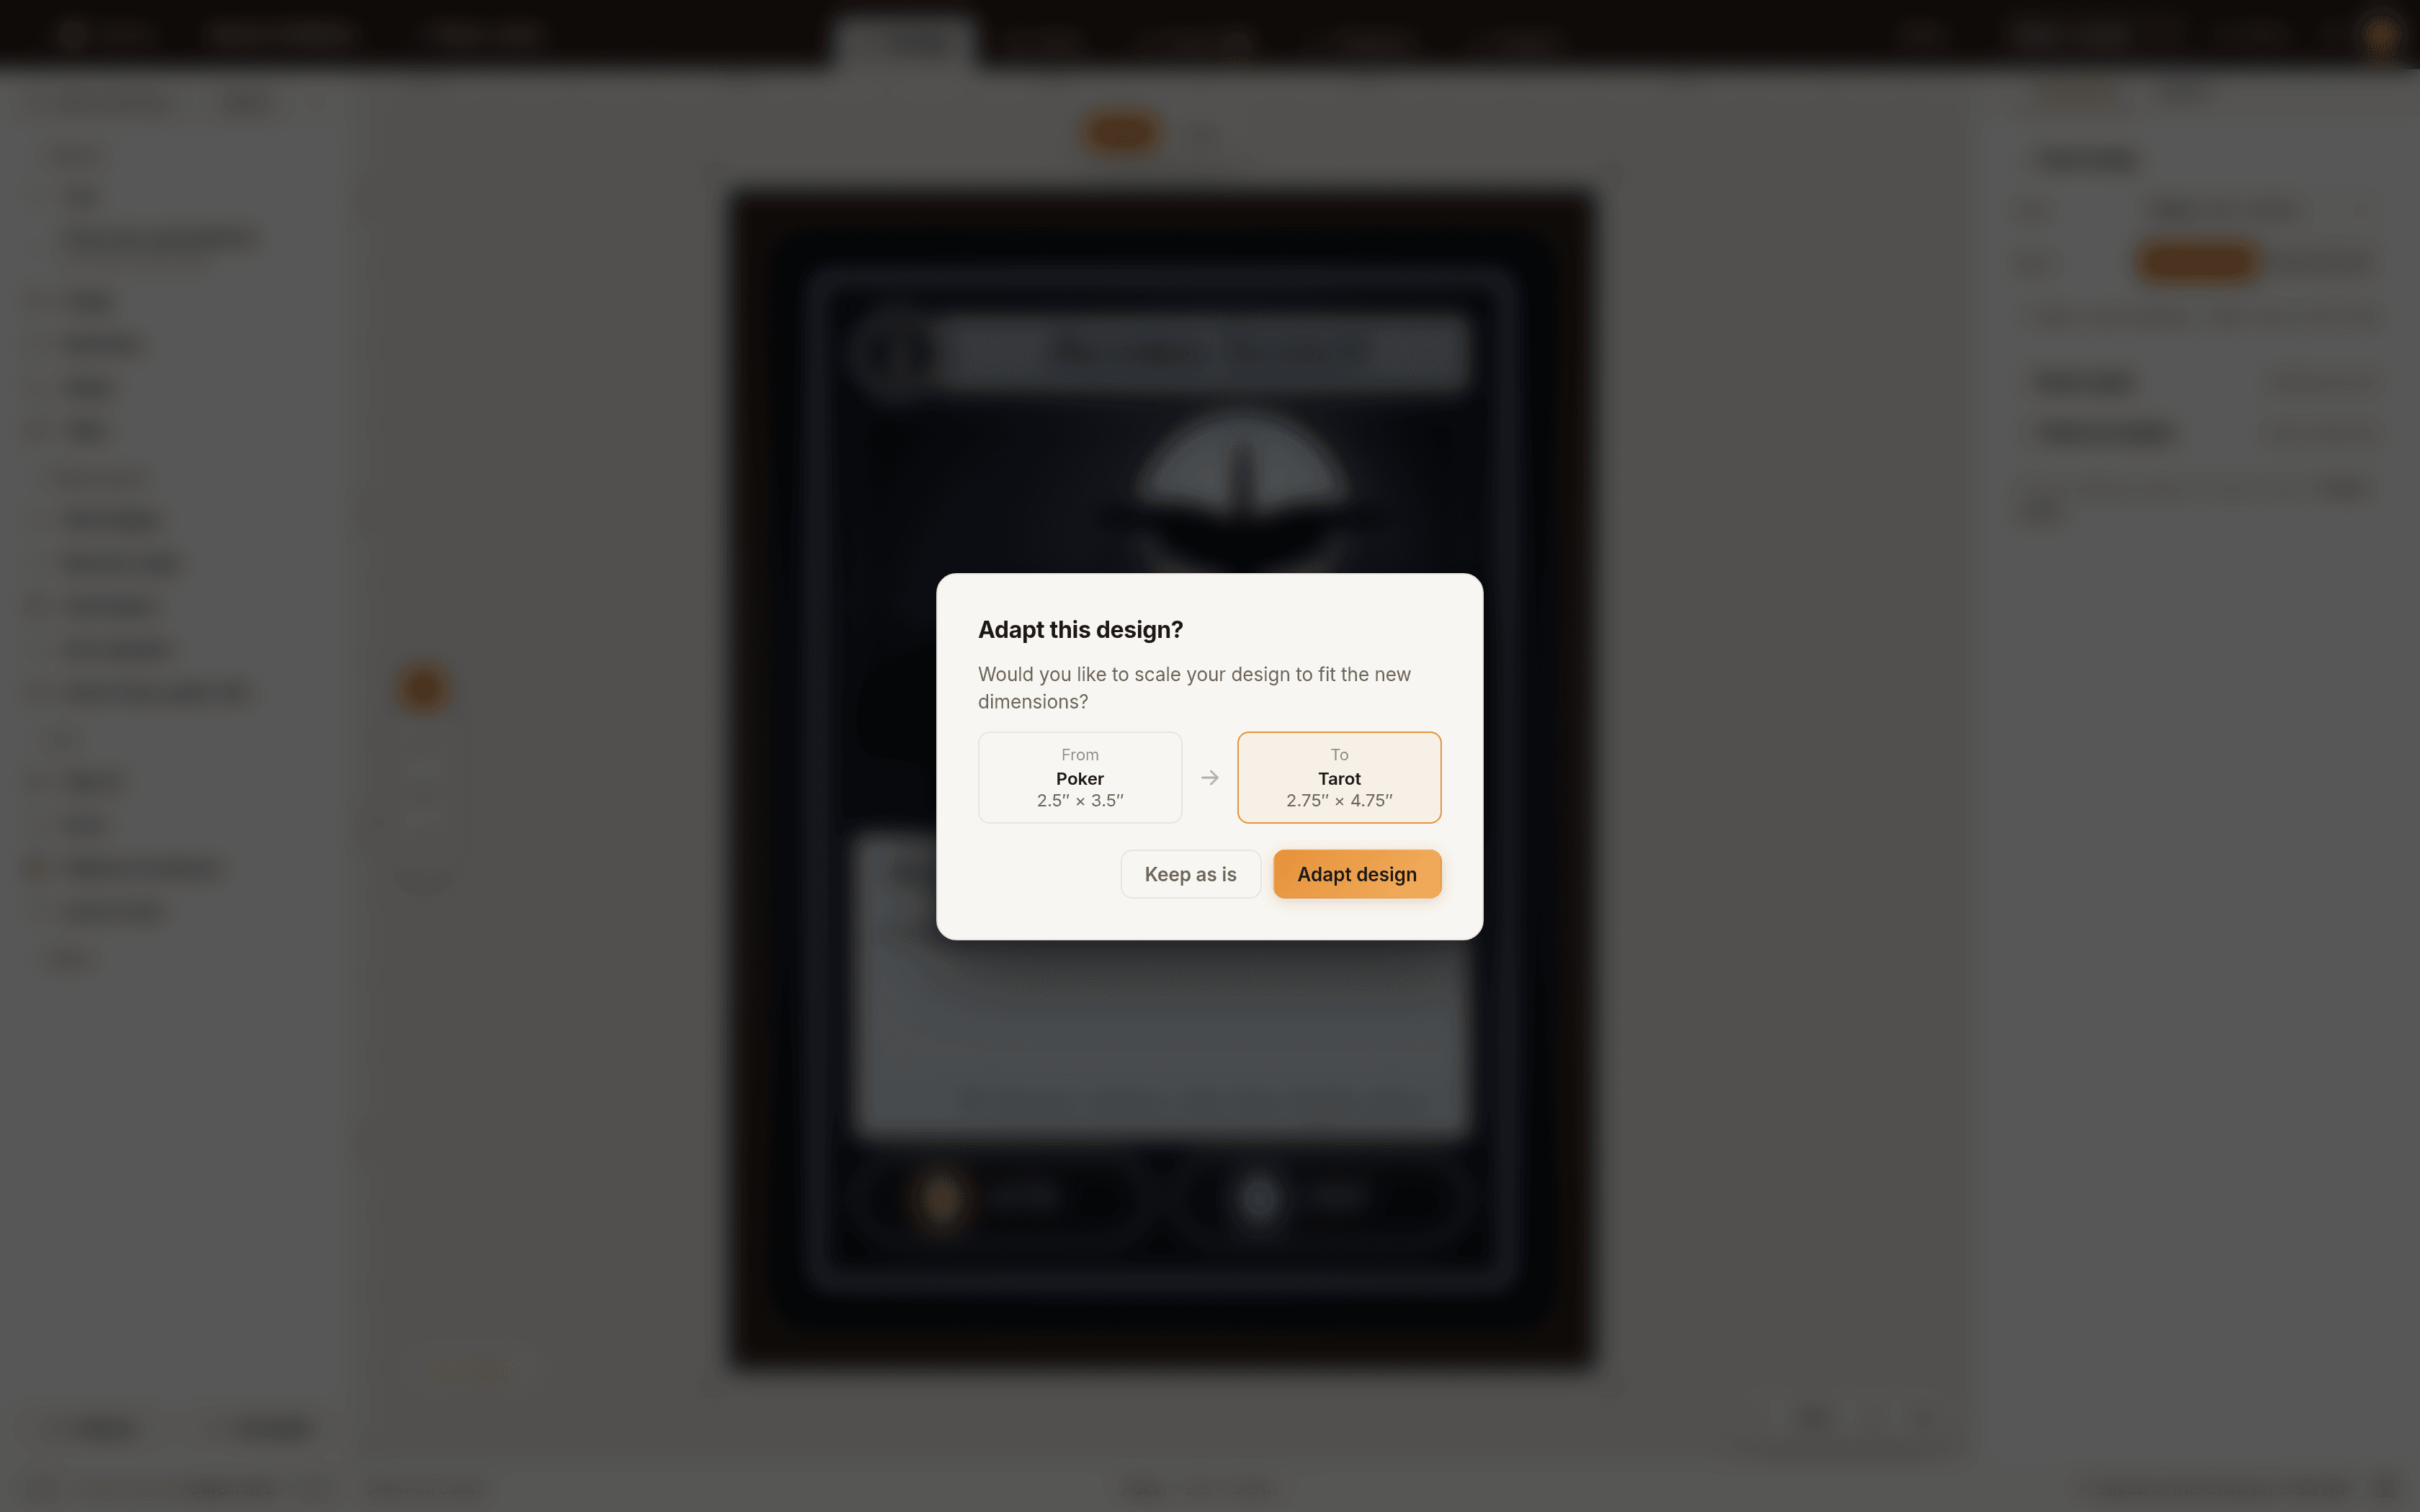
- If the card already has content, an Adapt this design? box shows the From and To sizes. Choose Adapt design to scale everything, or Keep as is to change the size and leave every element exactly where it was.
- A message at the bottom says Design adapted and offers Revert for ten seconds.
What gets scaled and what stays
With Adapt design, every side of the deck you have open is rescaled together. Other decks in the game keep their own sizes.
Scaled:
- Position and size of every element. Most elements grow or shrink by the same amount in both directions, so circles stay circles and logos keep their proportions, and they stay centered on the same spot.
- Text size, letter spacing and padding. Text never drops below 6 points.
- Looks: text outlines, glows and shadows, stroke and border widths, corner rounding, and shape shadows.
- Groups, as a single unit.
Stretched to the new edge: backgrounds, and any element that spanned the full width or full height of the old card, such as a title bar.
Kept: your wording, colors, fonts, images, spreadsheet links, layer order and saved text styles.
Tip: Going from a wide card to a tall one (or the reverse) leaves spare room on one axis. Expect to nudge a few elements afterwards. Magic Resize gets you 90 percent of the way, not all of it.
If the new piece has fewer sides than the old one, a This component has fewer sides box lists what would be removed before anything changes.
Bleed and the safe area
Each size brings its own print margins. The extra edge (bleed) is the strip that gets trimmed off when the card is cut, and the safe area is the margin inside the cut line where important content should stay. Both are shown in the inspector under Card setup then More card settings, and they change with the size, so a bigger card does not always mean a bigger margin.
To see them on the card, open the View menu and turn on Bleed edge and Safe area (the shortcut for bleed is B). With Custom size you set both yourself; 0.125 inches is the usual choice for each.
Check it with Proof
After any resize, open the Proof tab at the top. It checks your design for print problems before you order, including text that now sits too close to the edge. Fix what it flags, then export.
Undo a resize
- Click Revert in the message right after the change. It lasts ten seconds.
- Later, press Ctrl + Z to undo the change, or open Version history from the game menu to go back to an earlier save.
When to duplicate the game first
Want both versions, say a poker deck and a tarot deck from one design? Choose Duplicate game from the game menu first. The copy is named with "(copy)" on the end. Change the size in the copy and the original stays untouched.
Troubleshooting
- No Adapt this design? box appeared. The card has only a background so far, or the new size has the same measurements as the old one. There is nothing to scale.
- Text looks cramped after going smaller. Font sizes shrink with the card. Shorten the wording or raise the size by hand, or use a text style set to Same size on every card (see Deck style, colors and text styles).
- A size you expected is missing. A print shop may be filtering the list. Open More card settings and clear Print shop, or choose Custom size.
- The Revert message is gone. Use Ctrl + Z, or restore an earlier save from Version history.
Ready to try it?
Open the editor, it is free to try. Pick a card size and see your design adapt.
Start Designing